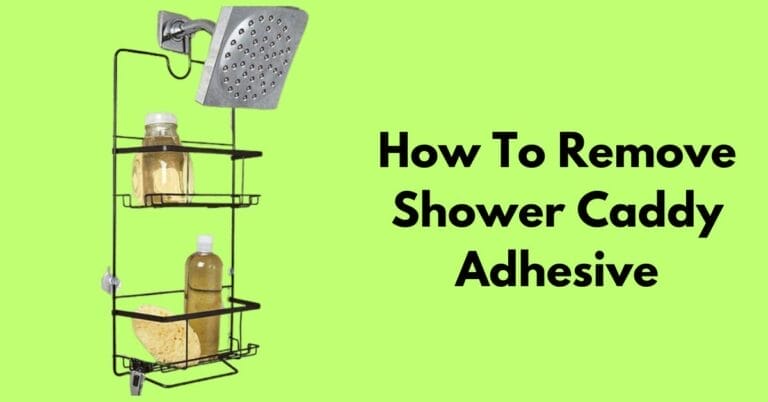
When it comes to replacing or installing a shower caddy, the amount of adhesive it leaves behind on the wall can be quite daunting to remove. Don’t ask how gross it looks that spoils the whole look of your good-looking bathroom.
Besides, removing it using homemade tricks can damage the wall which can turn out to be a costly replacement. So what should we do?
Not to worry, because this article has come with two amazing methods that will remove shower caddy adhesive from the wall in no time.
Be sure to follow each step carefully as you know rushing to do things can often spoil the fun so be gentle with the whole process.
How To Remove Shower Caddy Adhesive From Wall Using Heat Gun (Method 1)
Nobody likes patches or marks on the wall and the one that left after installing or removing adhesive shower caddy is the worst of all.
Fortunately, there are some ways you can follow to free yourself from this plastic prison. One of the most effective methods to remove adhesive from a shower caddy is using a heat gun. If you don’t have it you can move on to other methods mentioned below.
Required Tools
Here are some tools you will need to follow the step-by-step process of using a heat gun to remove shower caddy adhesive.
- Heat Gun/ Hair Dryer
- Putty Knife
- Safety Gloves
- Paper Towel
Step 2: Wear Safety Gloves First
Safety always comes first so be sure to wear gloves before following the process because you will be using heat to remove adhesive from shower caddy.
Step 1: Soften The Adhesive Using Heat
This is the most crucial as you need to soften that stubborn adhesive using a heat gun or hair dryer. First, you need to plug in a heat gun or hair dryer and set it to a low or medium fast setting.
Second, apply the warmth of a heat gun or dryer a few inches away from the adhesive. Don’t apply heat in only one direction instead move it back and forth to cover the adhesive from all sides.
When you see the adhesive has started losing its strength on the wall, stop the further heating it and move on to the next step.
Step 3: Scrape off the Loose Adhesive Using Putty Knife
Use the putty knife to scrap off the softened adhesive from the wall. You need to use a soft approach here because scraping it forcefully can damage your wall. So, it’s imperative to keep your focus on removing the adhesive from the tile only.
Once all the adhesive has been removed successfully, use a wet paper towel to give a final cleaning touch to the wall or shower caddy.
How To Remove Adhesive From Shower Caddy Using Baking Soda (Method 2)

If the heat gun method is something that is hard to follow for you, the baking soda method is here to remove shower caddy adhesive in a matter of minutes.
Let’s learn how to use it.
Required Things
Here are some things you must carry before following the baking soda method.
- Baking Soda
- Putty Knife
- Hot Water
Step 1: Scrape off the adhesive as much as possible
First, you need to use a putty knife to remove as much shower caddy adhesive as possible. Make sure to follow a gentle approach while scrapping off the adhesive to avoid gauging and leaving any mark on the wall.
Step 2: Sprinkle the Baking Soda on the leftover adhesive
The next step comes with sprinkling the baking soda on the remaining adhesive residue and letting it sit there for 15 minutes. Baking soda will soften the adhesive residue so that you can clean it easily later.
Step 3: Pour hot water
Take hot water in a cup and gently pour on the adhesive until it won’t start turning out into a paste. Once you do it wait for some time while you prepare your scraper tool to peel off the glue.
Step 4: Wipe the remaining glue using a paper towel
The last step involves using a paper towel to wipe clean the remaining glue from the wall and restore it to its former glory. Using circular motion while scrubbing will help you get the best results.
How To Remove Shower Caddy Adhesive Using Petroleum Jelly (Method 3)

This method will teach you how to clean shower caddy adhesive using petroleum jelly which will be found easily around your house.
Required Things
You will be required the following things to proceed further with the process.
- Petroleum Jelly
- Gloves
- Paper Towel
Step 1: Clean the wall affected with adhesive
The first step comes with removing dirt and debris from the wall using a soft cloth. This will help petroleum jelly work effectively on the shower caddy adhesive.
Step 2: Wear the gloves
To avoid petroleum jelly sticking to your hands, it’s imperative to wear gloves before moving further.
Step 3: Apply petroleum jelly on adhesive
Take some petroleum jelly onto your hand and apply it all over the shower caddy adhesive in a circular motion. The petroleum jelly will soften the adhesive which will help you to wipe it easily.
Step 4: Wipe it with a paper towel
Once the adhesive has been dissolved successfully with petroleum jelly, wipe it away with a wet paper towel. You will be surprised to see your wall or shower caddy free from that plastic prison and back to its former glory.
Related: How To Keep Shower Caddy From Falling
Final Words
Removing the adhesive shower caddy is as easy as putting a lid on the bottle. Luckily, we have covered all the important aspects and methods that will help you how to remove shower caddy adhesive from the wall. These techniques can also be used to remove non-sticky labels or any other residue from the wall. If you have any questions, you can ask in the comment section below, we would love to help you out.